
How to Install Metal Siding: Step-by-Step Professional Guide
Learning how to install metal siding correctly can transform the durability, thermal efficiency, and curb appeal of any commercial, residential, or industrial building. Whether you are upgrading an existing facade or cladding a new steel-framed structure, metal siding panels provide unmatched longevity, fire resistance, and minimal lifetime maintenance compared to traditional vinyl or wood.
However, improper installation can lead to moisture intrusion, thermal bridging, and premature wear. In this practical guide, we break down how to install metal siding step by step—from substrate preparation and moisture management to trim placement, panel fastening, and final inspection.
1. Tools and Materials Checklist
Before you begin your metal siding installation, assemble all required safety gear, specialized tools, and materials to ensure a smooth workflow.
Essential Tools
Measuring & Leveling: Tape measure, laser level, chalk line, framing square.
Cutting Tools: Electric metal shears or nibblers (avoid high-speed abrasive blades that burn the protective galvanized coating).
Fastening Tools: Variable-speed drill/driver with adjustable torque and hex head driver bits.
Safety Equipment: Cut-resistant gloves, safety goggles, hearing protection, and sturdy work boots.
Required Materials
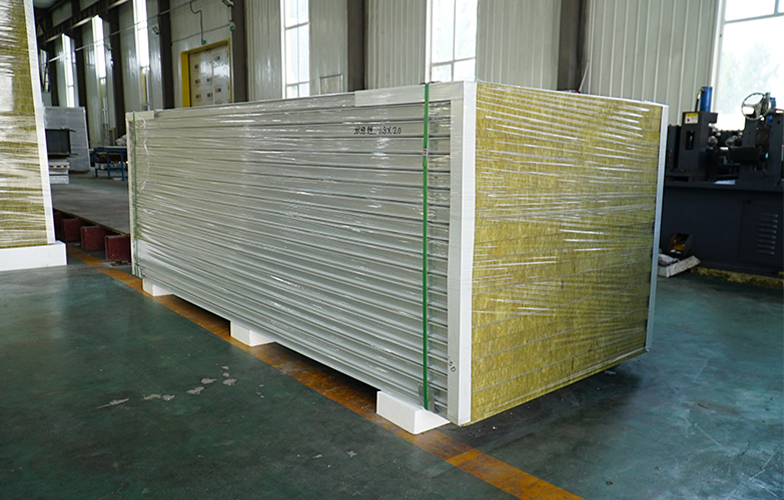
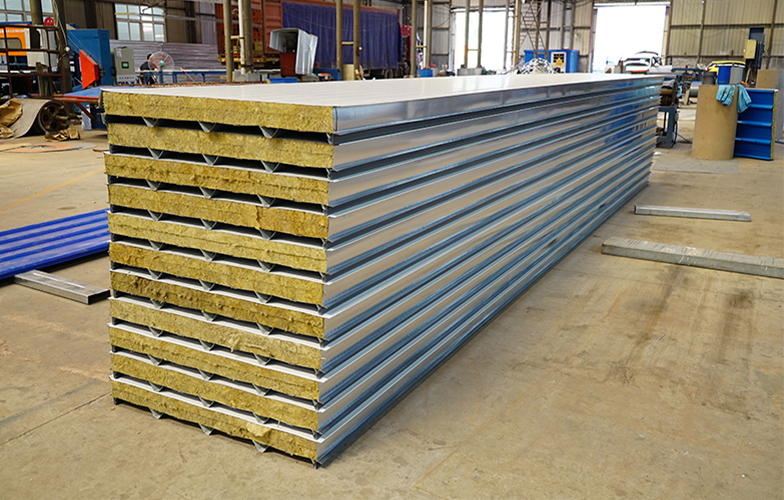
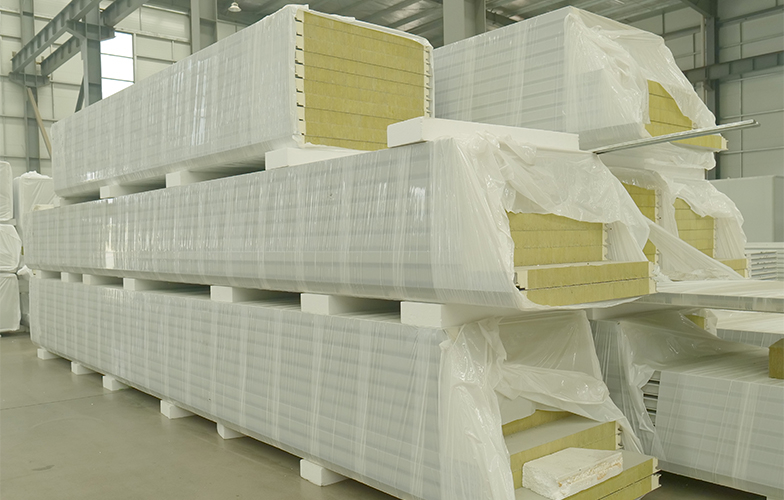
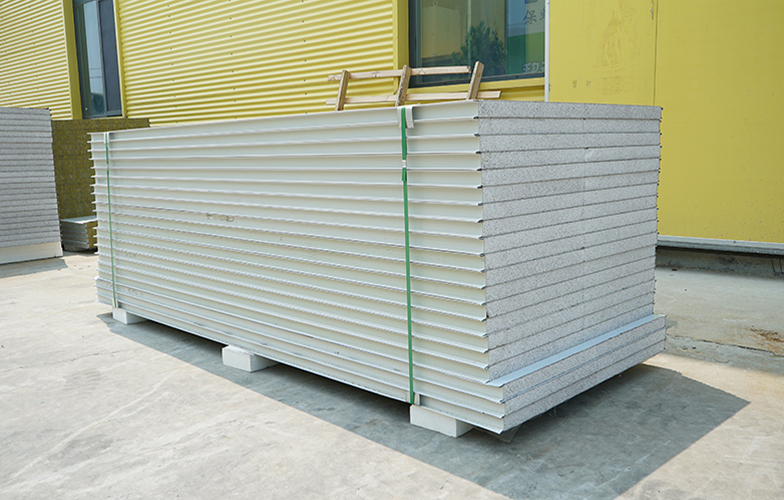
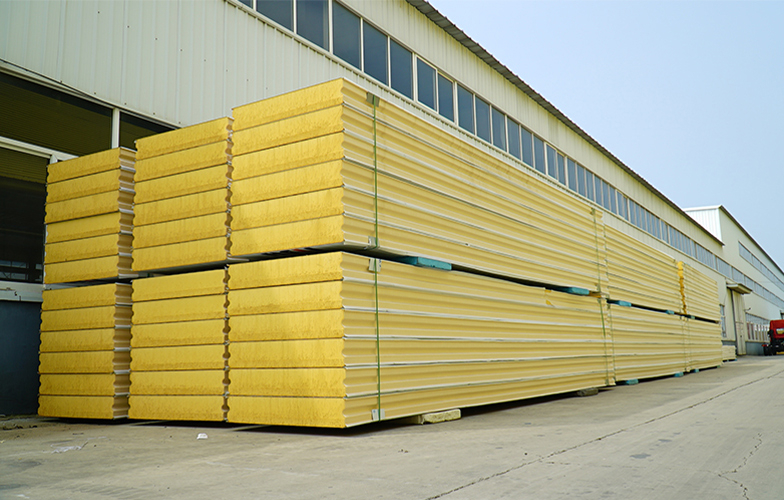
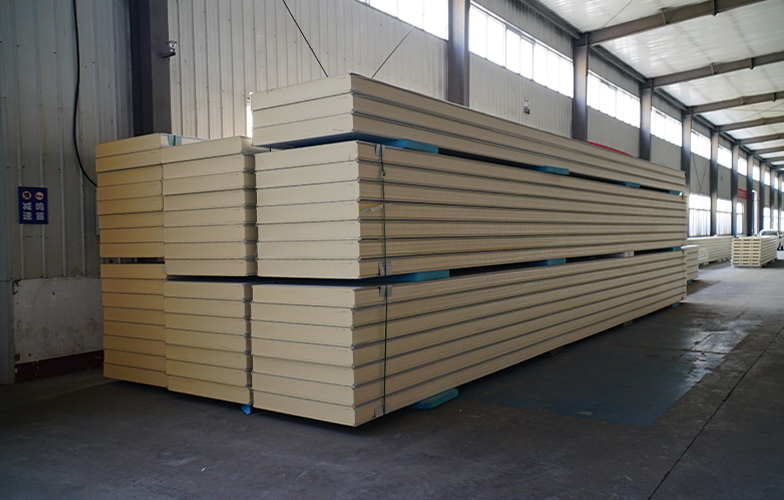
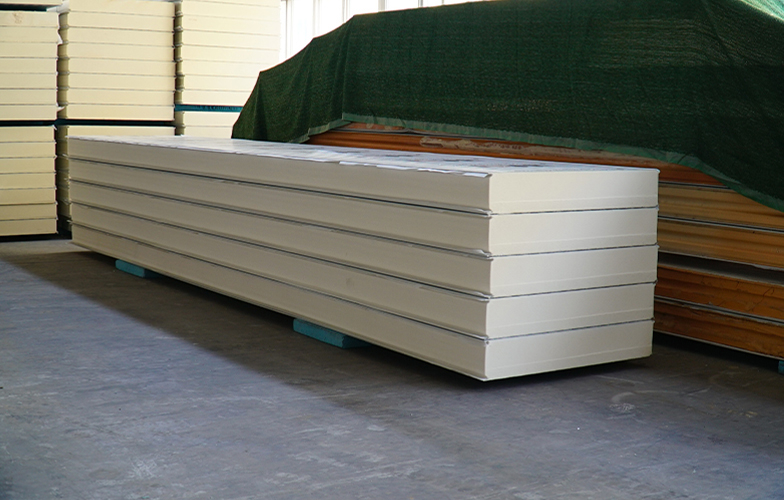
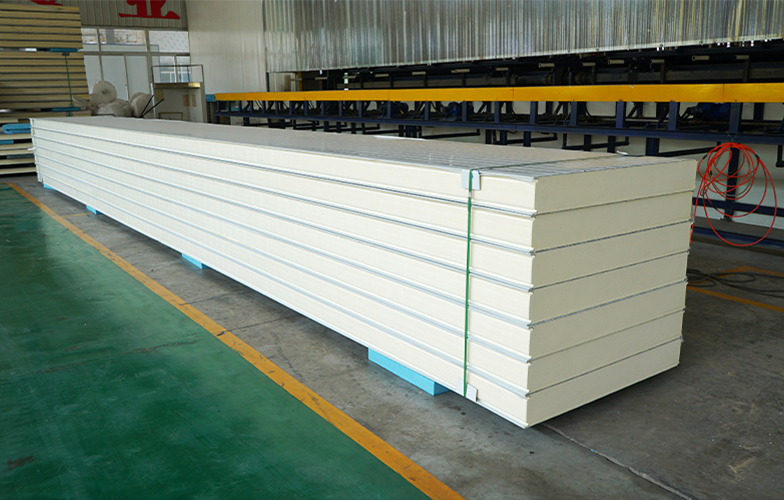
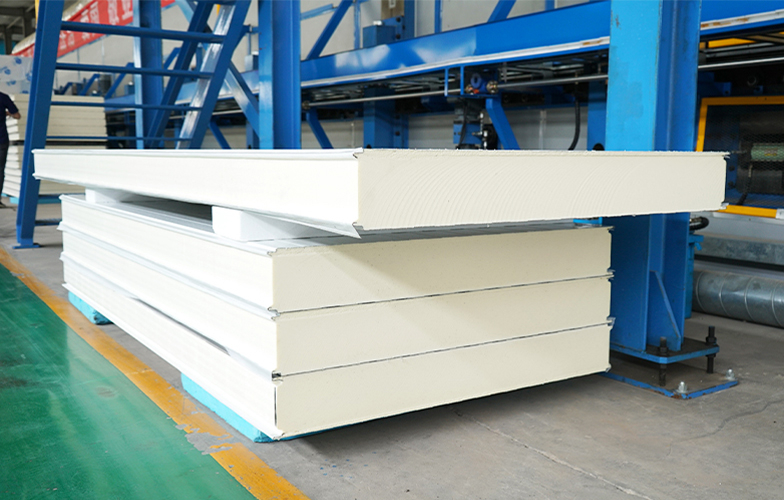
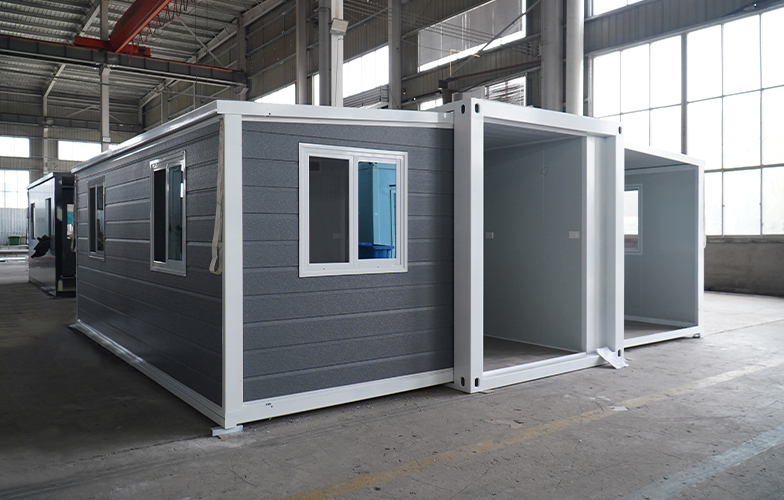
Exterior Metal Siding Panels: (e.g., polyurethane-insulated metal carved siding or ribbed steel siding).
Trims & Flashing: Starter strips, J-channels, outside corner posts, inside corner trims, drip caps, and window/door flashings.
Fasteners: Corrosion-resistant, self-drilling screws with EPDM weatherproof washers.
Underlayment: Breathable weather-resistant barrier (WRB / house wrap) and high-performance flashing tape.
Furring Strips: Treated lumber battens or light-gauge steel hat channels (18–20 gauge).
2. Preparation and Substrate Inspection
A flawless finish starts with thorough prep work. Never rush the foundation of your cladding project.
Inspect the Wall Substrate: Ensure the existing sheathing (OSB, plywood, concrete, or steel frame) is dry, sound, and plumb. Replace any rotted sheathing and remove protruding nails or old cladding.
Install the Weather-Resistant Barrier (WRB): Apply a high-quality breathable house wrap horizontally across the wall, starting from the bottom and overlapping upper layers by at least 4 to 6 inches. Seal all seams with approved seam tape.
Mount Furring Strips (Rain Screen System):
Fasten treated wood battens or steel furring strips vertically at 16-inch or 24-inch centers.
This creates an essential 3/4-inch drainage and ventilation plane behind the metal siding panels, allowing any trapped condensation to escape freely.
3. Installing Trims and Flashing First
When learning how to install metal siding, the cardinal rule is: all trims, flashings, and accessories go on before the main panels.
Drip Edge & Base Flashing: Fasten the bottom drip flashing along the foundation line to direct runoff away from the structure.
Starter Strips: Level and secure the starter strip at the bottom perimeter. This locks the first row of siding firmly in place.
Corner Trims: Install inside and outside corner posts plumb, leaving a 1/4-inch gap at the top for expansion.
Window & Door Trim: Fit J-channels around openings and install Z-flashing/drip caps above window and door heads.
4. How to Install Metal Siding Panels: Step-by-Step
With your perimeter trims secured, you are ready to install metal siding.
Step 4.1: Measure and Cut Panels Accurately
Measure the distance between corner trims, subtracting 1/4 inch (6 mm) to allow for natural thermal expansion and contraction.
Cut panels face-down using cold-cut metal shears. Clean away metal filings immediately to prevent surface rust spots.
Step 4.2: Fasten the Starter Course
Slide the bottom edge of the first panel into the starter strip until it snaps or locks securely into position.
Verify horizontal level with a laser or bubble level. If the starter row is off-level, every subsequent panel will be misaligned.
Step 4.3: Secure with Fasteners
Drive self-drilling screws through the pre-punched mounting flange or furring strip anchor points.
Fastening Rule: Drive screws perpendicular to the panel face. Tighten until the EPDM rubber washer compresses slightly without deforming the metal flange. Do not over-tighten, as the panel needs room to expand and contract with temperature shifts.
Step 4.4: Interlock Successive Panels
For tongue-and-groove or shiplap metal siding panels, fit the lower groove over the upper tongue of the preceding panel until fully engaged.
Fasten each panel along the top flange into the furring framing at standard 16-inch to 24-inch spacing.
Stagger end joints across consecutive courses if working with sectional panels to create an aesthetically pleasing layout.
Step 4.5: Fit Top Finish Course
Measure and rip-cut the final top panel to fit beneath the eave or soffit.
Fasten the cut edge into a pre-installed finish trim or J-channel.
5. Professional Tips to Avoid Common Mistakes
| Common Installation Mistake | Potential Risk | Professional Solution |
|---|---|---|
| Over-tightening screws | Panel warping and oil-canning | Drive screws snug; allow EPDM washer to seal without crushing the panel flange. |
| Omitting thermal expansion gaps | Buckling during summer heat | Leave a 1/8" to 1/4" gap inside J-channels and corner trims. |
| Using abrasive cutting wheels | Burning galvanization & edge rust | Always use cold-cutting metal shears or specialized carbide-tipped blades. |
| Skipping the rain screen gap | Moisture buildup and wood rot | Always install furring strips over the weather barrier for |
6. Why Choose Insulated Metal Siding for Modern Buildings?
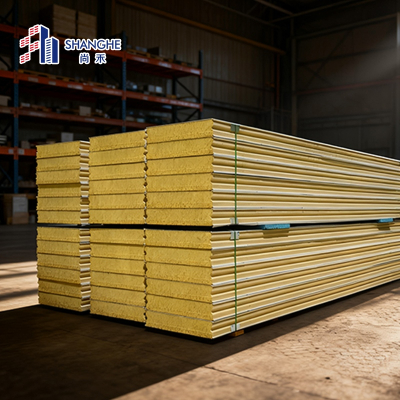
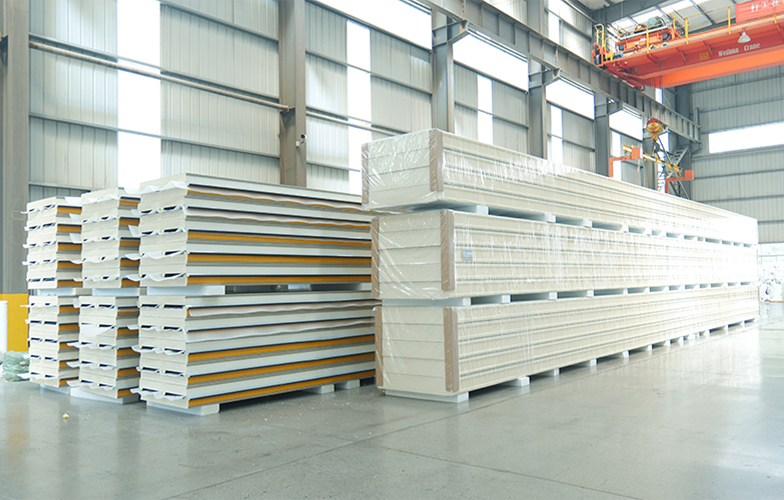
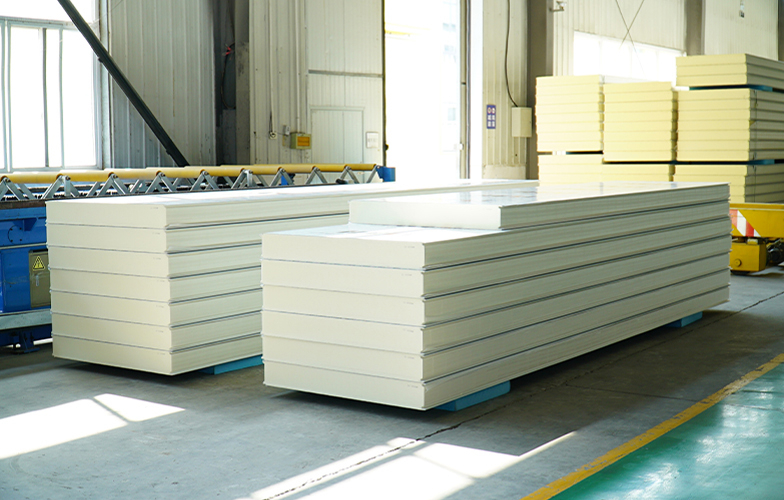
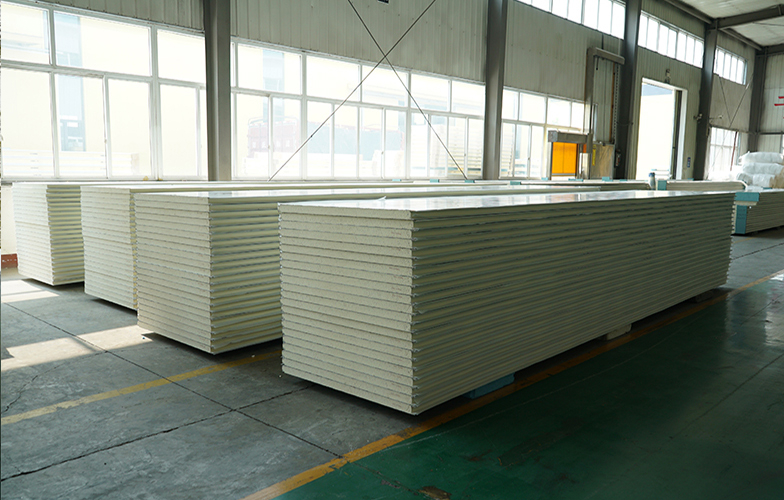
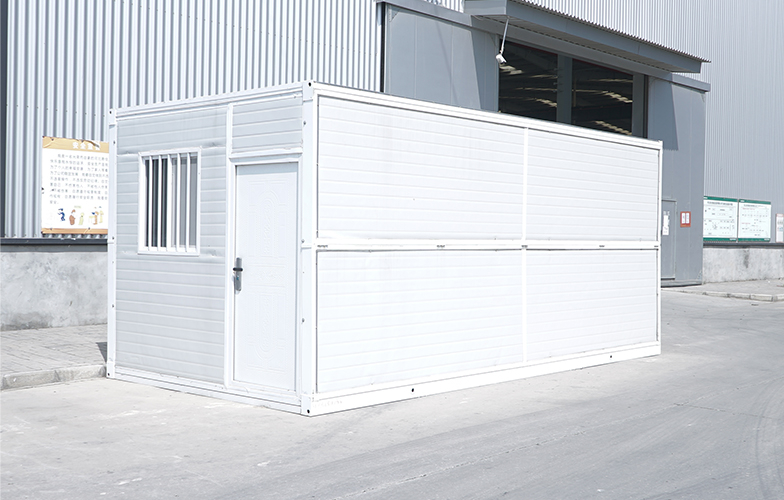
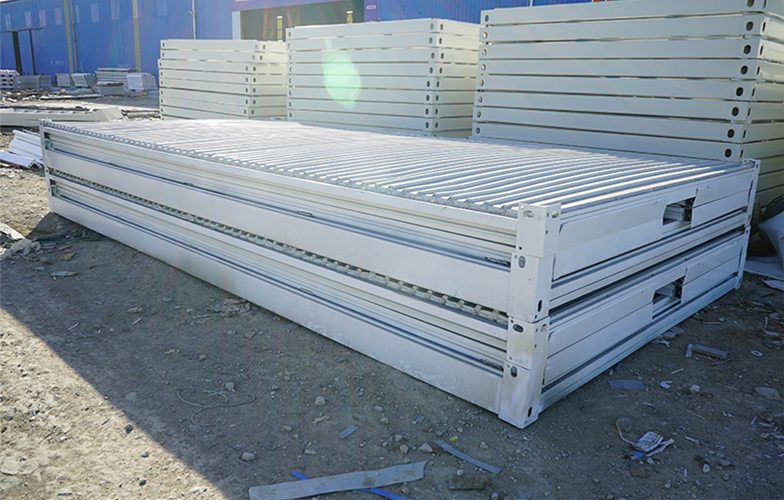
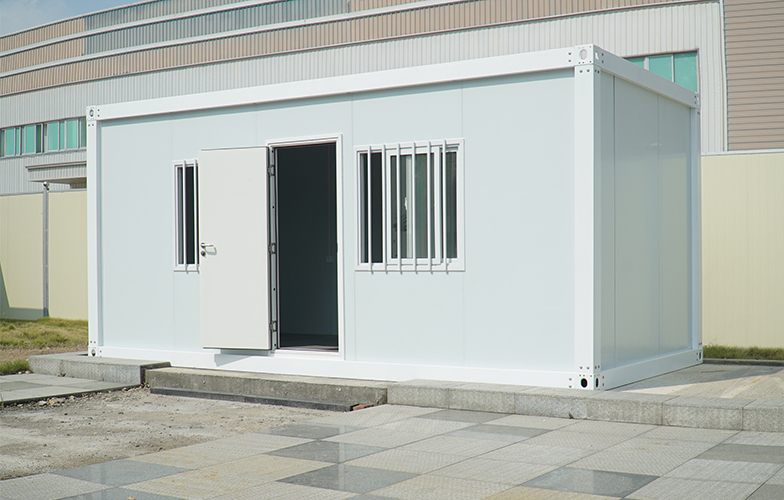
For B2B projects, commercial warehouses, modular cabins, and cold storage facilities, traditional single-skin sheets are increasingly being replaced by insulated metal siding panels (such as PU-core metal carved siding).
Key Advantages:
Built-in Thermal Efficiency: Integrated high-density polyurethane core (R-value up to R-16+) eliminates thermal bridges.
Rapid Installation: Lightweight tongue-and-groove modular design reduces labor time by over 40% compared to stucco, fiber cement, or brick.
Superior Weather Resistance: Multi-layer PVDF/Fluorocarbon coating resists UV degradation, salt spray, and extreme climates for 30+ years.
Conclusion & Next Steps
Understanding how to install metal siding correctly ensures your building remains structurally sound, energy-efficient, and visually striking for decades. By following proper moisture management, allowing thermal expansion, and using high-grade fasteners, you achieve a professional-grade exterior finish every time.
Looking for high-performance exterior metal siding for your next project?
Contact our engineering team today to request free product samples, technical CAD drawings, and comprehensive installation manuals tailored for your architectural specifications.